Digital Astronomy
Experiments in Afocal Eyepiece projection Astrophotography
|
| In the past couple
of years I
have been experimenting with afocal digital astrophotography. Using
a digital camera with a variety of setups to attach the camera to
the eyepiece. The results can be quite satisfying, but it can try
one's patience as well!
My start into this hobby was like the cart before the horse. I had purchased a digital camera first. I was taking pictures of everything at the time, but one night at my brother-in-law's home, he had his 4.5" reflector out and was viewing the lunar landscape. I decided to point the camera at the eyepiece. The entrance pupil to the camera was quite small, so it made it difficult to aim the scope and the camera at the same time to have a image show up on the camera's display . Once the image appeared, the other trick was to hit the shutter release without jerking the camera and losing the image. It proved to be a task, but the first results were inspiring. As I look back on these first images, I can honestly say, they are less than desirable, but it helped nurture a new hobby. Camera Attachments: There are a number of ways to attach the camera to the scope. My first was the EZ-Pix digital camera adapter from Scopetronix. The folks at Scopetronix have a wide variety of attachments for all types of digital cameras and if you are interested in pursuing this hobby, I can't recommend viewing their site enough, it is loaded with help and ideas on digital imaging. Orion has a few themselves that are along the same lines as Scopetronix. The initial setup using one of
these adapters can be quite a chore. The camera adapters attach
directly to the eyepiece by using a 1 1/4" clamp. Attaching the camera adapter to a small plossl is tedious, but can
be done, but changing eyepieces during the middle of
a image session is difficult. I did manage to attach the adapter to
the diagonal of the scope using the 2" clamp that normally is provided with
the adapter, but I had to pad the inside of the clamp for a tighter
grip. It still proved to be a touchy arrangement .... no pun
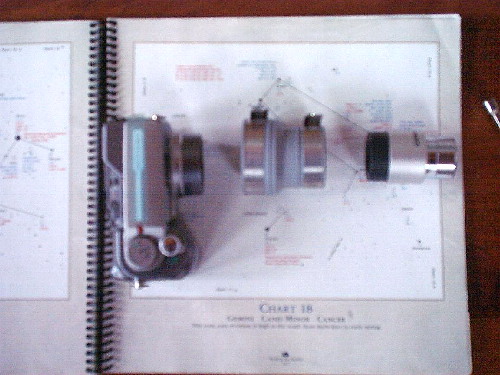
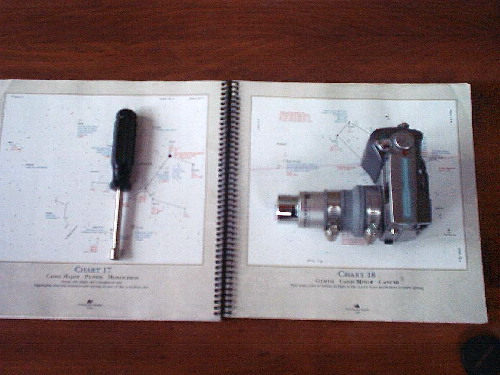
intended. Digital Rules: The setup I currently use is a
Olympus C-4000z with a plumbing coupler that I purchased for $5 at a
local hardware store.
This coupler fits nicely over the entire camera lens and holds a
lanthanum eyepiece at the other end. The coupler has one side at an
inner diameter of 2" while the other side has an inner diameter
of 1 1/4". Hose clamps are used to just snuggly clamp down the
arrangement. I normally use a Lanthanum
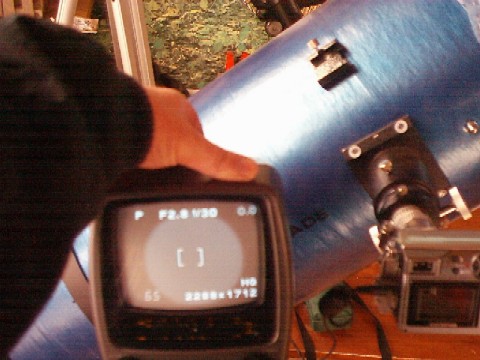
eyepiece. It's outer diameter is the perfect size for the coupler. Camera Settings: Most digital cameras have a variety
of settings one can choose from. Digital cameras can have four
different shooting modes: Program (automatic), Aperture Priority,
Shutter Priority and Manual. The Program mode will use the factory
settings which will most likely be designated to the most basic, or
Automatic modes. Using the Program mode is not recommended.
One can experiment with these
settings to try and achieve the best image. If your image shows up
as a white blob, it's a good indication that the shutter speed is
too slow and it needs to be quicker.
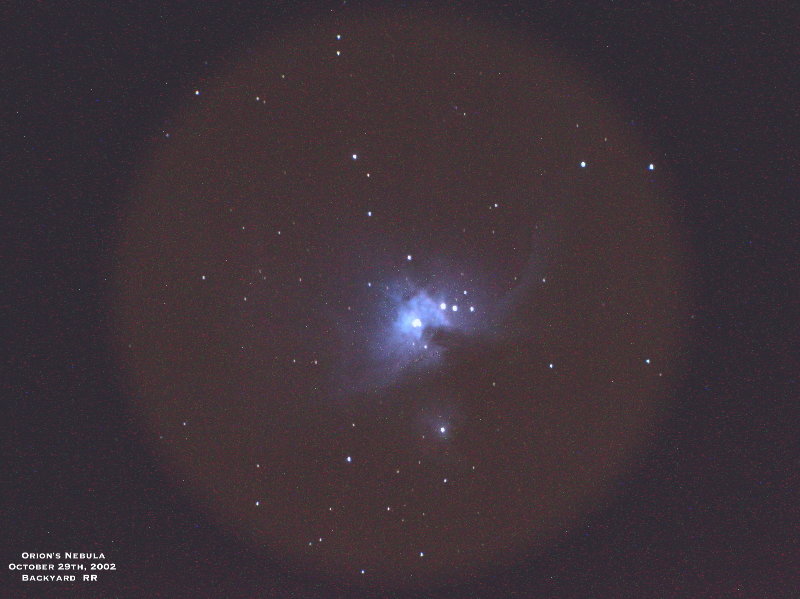
The Elusive Focus: Processing your images: One of the tricks of producing a
better image is by stacking your images. This process will take
multiple images and practically pile them one on top of the other
making a composite image.
There are some freeware programs available on the WWW and they
are quite nice for the price! I don't claim to be an expert on this! I have made plenty of mistakes, trying different setups, but hopefully this will help someone to avoid the same mistakes I have made. I am continually trying new ways and settings to achieve digital nirvana and that path is not always straight and narrow, but that's the beauty of digital imagery, if you don't like the image, send it to the recycling bin and try again! Bottom line is to have fun and enjoy
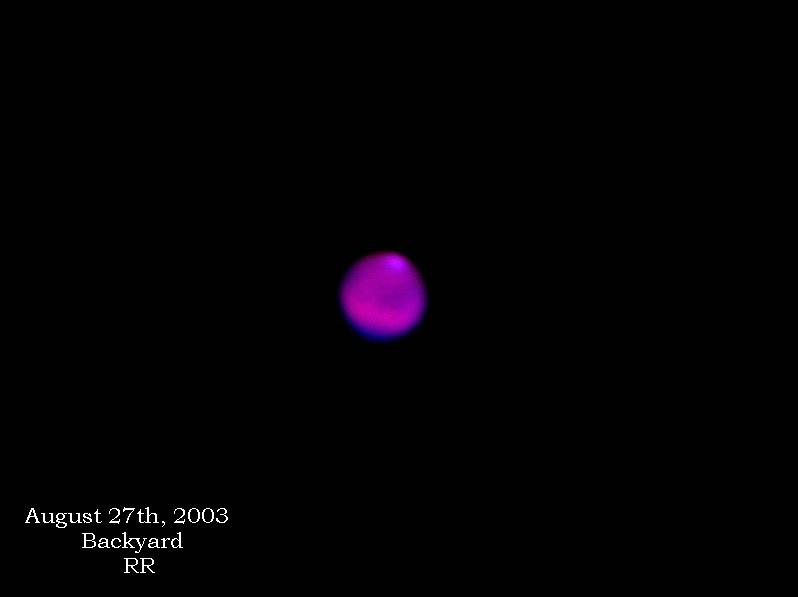
the Stars! Backyard
Questions? I can't say thank you enough |
||||||||||||||||||||

Links
Scopetronix "How to" with digital cameras
Simon
Szykman
Page is big, but loaded with info!
Splitting Double Stars with you digital camera
Terence
Dickinson and Alan Dyer's
Backyard Astronomy
Ray Cash's
Deep-Sky Page Another Excellent Site!
CCD Images by
Roland Christen
Hubble on Earth! Gotta see these!
Astromart
Used Telescopes and accessories

My Digital Images